 OC Robotics
OCR Stickers
Set up workspace
- Download and install Cricut software
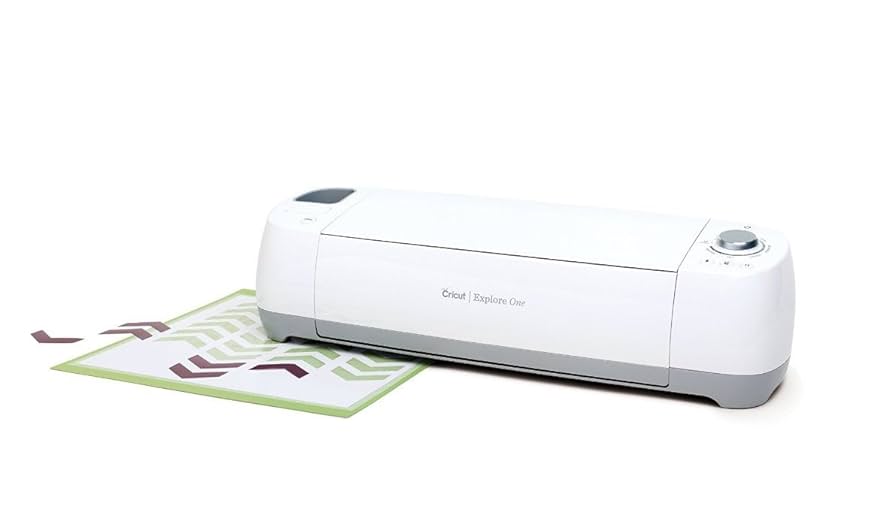
- Choose the correct machine (e.g. explore one)
- Open Cricut Design Space app and create/log in to account
- Connect Cricut machine to computer via USB
Create Sticker Design
-
Click
+ New Project -
Upload photo

- Determine how many square stickers to fit on canvas and arrange
- Ex) Canvas of max width 6 and 5/16 inches and length of 9.5”
Important: To create circular stickers, see
Sticker V2.
Prepare for printing
- Select all sticker elements to print, then click
Make it

Print stickers
- Click
continuethensend to printer

- Load sticker paper (matte, vinyl, etc) into color printer (sticky side face up) into tray 2

Cut stickers with Cricut
- Place printed sticker paper on a Cricut cutting mat (e.g. LightGrip)
- Start cut using Cricut machine
- Click
make - Click
I've already printed - Make sure USB is plugged in
- feed LightGrip in
- press the feed arrows, then go C button
- Click
OCR Stickers V2- Circular Stickers
- From left toolbar, click
Shapesand draw a circle on top of the sticker (aligned with the logo)

- Select the circle and sticker, then click slice

- This will result in 3 parts; you can delete the non-logo elements